abu baniaz
Moderator
I am posting this as a guide on how to take screenshots to save people having to resort to taking pictures with their cameras. This allows for better clarity. There are other way of taking screenshots, so please continue with the method you are familiar with.
The receiver must be on the same network as your PC/laptop. I.E it must be connected to the same router that your PC/alptop is connected to. You can use network cables, homeplugs or wifi USB devices. There is no need for a direct/physical connection between receiver and PC/laptop.
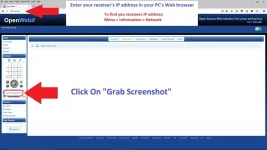
You need to know the IP address of your receiver. You can the check this by: Menu > Information > Network
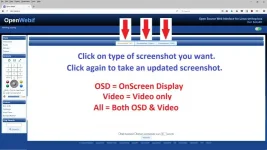
Full screenshot
Amend the following by changing the X so that it makes up the IP address of your receiver.
eg
OSD screenshot
Amend the following by changing the X so that it makes up the IP address of your receiver.
eg
LCD screenshot
Amend the following by changing the X so that it makes up the IP address of your receiver.
eg
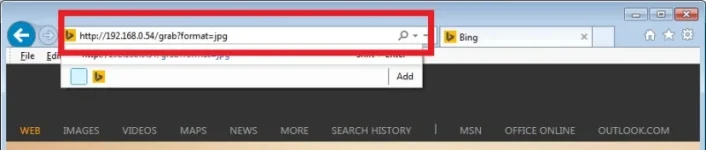
Paste this in your web browser's address bar. You can save these as a bookmark/favourite if you use the same IP address for your receiver.
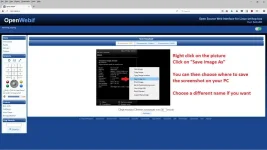
A screenshot will be generated. Right click on picture to save it.
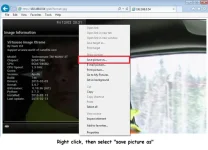
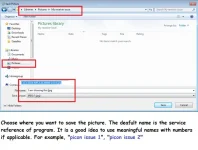
Choose where you want to save the picture and also what name you want.
The receiver must be on the same network as your PC/laptop. I.E it must be connected to the same router that your PC/alptop is connected to. You can use network cables, homeplugs or wifi USB devices. There is no need for a direct/physical connection between receiver and PC/laptop.
You need to know the IP address of your receiver. You can the check this by: Menu > Information > Network
Full screenshot
Amend the following by changing the X so that it makes up the IP address of your receiver.
Code:
http://192.168.XXX/grab?format=jpg
Code:
http://192.168.0.8/grab?format=jpgOSD screenshot
Amend the following by changing the X so that it makes up the IP address of your receiver.
Code:
http://192.168.XXX/grab?format=jpg&mode=osd
Code:
http://192.168.0.8/grab?format=jpg&mode=osdLCD screenshot
Amend the following by changing the X so that it makes up the IP address of your receiver.
Code:
http://192.168.XXX/grab?format=jpg&mode=lcd
Code:
http://192.168.0.8/grab?format=jpg&mode=osdPaste this in your web browser's address bar. You can save these as a bookmark/favourite if you use the same IP address for your receiver.
A screenshot will be generated. Right click on picture to save it.
Choose where you want to save the picture and also what name you want.
Last edited: